EXHAUST: ROAD RACE SETUP
One of the last parts to build on a vehicle is the exhaust. You can’t effectively build headers or an exhaust system until the chassis and suspension are done and all the other important components have been installed in their respective places. There’s little chance Big Red could use a set of off-the-shelf headers designed for some other car and application. The first set of headers from 1988 were custom made by Smiley’s to fit the chassis, and last were used in Alabama for the 2014 Hot Rod magazine shoot. In 2009, Greg Holman of REF Unlimited started building headers for Big Red. His first set was for the Bullet (598), and he’s been building headers for Big Red ever since.
One of the last parts to build on a vehicle is the exhaust. You can’t effectively build headers or an exhaust system until the chassis and suspension are done and all the other important components have been installed in their respective places. There’s little chance Big Red could use a set of off-the-shelf headers designed for some other car and application.
The first set of headers from 1988 were custom made by Smiley’s to fit the chassis, and last were used in Alabama for the 2014 Hot Rod magazine shoot. In 2009, Greg Holman of REF Unlimited started building headers for Big Red. His first set was for the Bullet (598), and he’s been building headers for Big Red ever since.
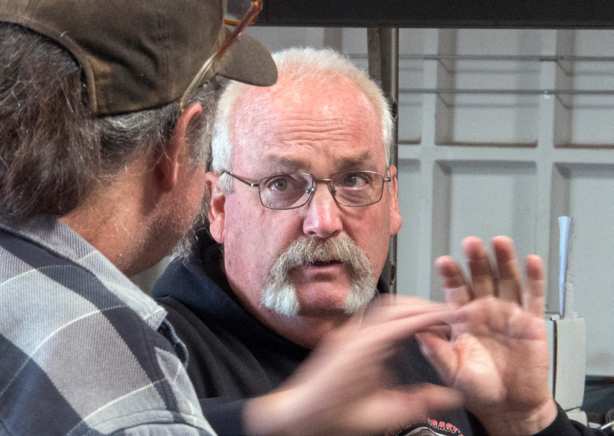
Before building the headers, Dave and Greg discussed laying out the exhaust system. Dave slipped the collector on a long section of oval tubing to place it in the correct location. With the collector in the right spot, Greg can work his header-building magic.
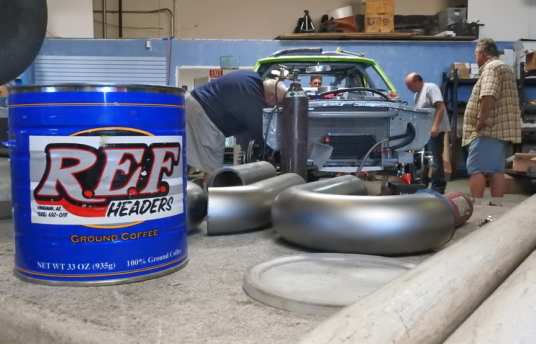
Greg brought a box full of 2 1/4-inch mild steel bends, tubing, and flanges from SPD and also used Pro-Werks steel donuts. The donuts are a lifesaver for header builders. They allow a much smaller radius than the tightest U-bend—a must have on some primary tubes in cramped spaces.
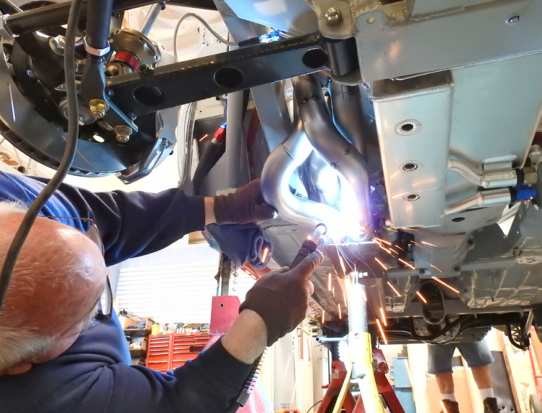
With the collector in place and the head flanges bolted to the cylinder head, Greg started building the header’s primary tubes. Greg brought his header-building shop to Dave’s shop in Southern California, from Kingman, Arizona, so the crew could stay on schedule. He even brought his cutoff wheel and his welder. He placed the tube on top of the vice jaws, but not pinched between them. This allows him to roll the tubing as he laid down his bead.
Greg tacks most of the tubes together before making the final weld. This allows him the chance to grind the tack weld to reposition the tube if necessary. Hopefully, this is the only time you see sparks flying out of Big Red’s exhaust pipes. Flames maybe, but not sparks! The tightest radius required on the passenger-side header is for cylinder number eight, because it had to run forward before turning 180° back into the collector.
Greg had to incorporate one donut section to get the direction reversed. Building equal-length primary tubes can be tricky because some of the primary tubes are inherently short, so the short ones have to be looped around to add length.
That’s why the primary from cylinder number six is kicked out in front of the frame rail. The primaries are a slip fit to the collector, but magic and wishful thinking won’t keep them together. Tabs are bolted together and then welded to the primary tube and collector. Once the header is completely tacked, the primaries are removed and completely welded around each tube.
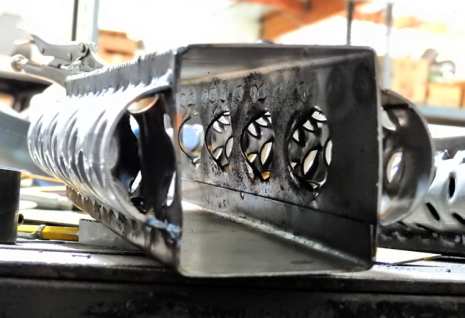
Dave discussed his side-exit exhaust muffler design with Greg. Dave cut some louvered tubing in half. He also built a square box out of two J-shaped channels of steel welded together. Then he drilled a series of large holes in both sides with his Unibit. Dave reshaped/louvered the large holes in the sides of the box. Then he welded the louvered tubing to the box to make a resonator.
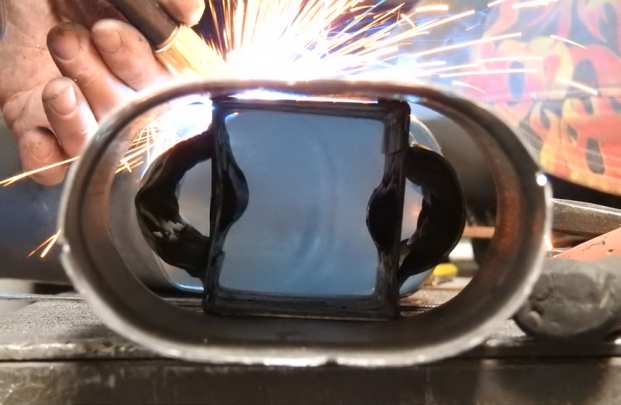
After welding the resonator assembly to two runs of oval tubing on either end, Dave showed RJ what the inside looked like prior to building the external muffler case. Dave built the muffler case out of 16-gauge steel. He designed it to flare out at the front to take advantage of the resonator and taper down toward the exit of the muffler to direct the exhaust flow smoothly. The muffler case sides were tacked in place and then the gaps on the end of the case were filled with crescent-shaped plugs. The rest of the seams were finished next.
Dave finished with one side. He laid the oval-bend on top of the finished side so he can build the other side to match. The exhaust system needed a balance tube between the right and left sides. Dave had serviceability in mind, so he added a removable V-band clamp joint so only the passenger-side muffler would have to be removed to service the transmission.
Dave had to weld a threaded bung into the frame rail to mount the exhaust pipe. The putty on the red paint is called Heat Fence. When welding, it helps protect metal and finishes from heat.
Dave had to weld a threaded bung into the frame rail to mount the exhaust pipe. The putty on the red paint is called Heat Fence. When welding, it helps protect metal and finishes from heat.
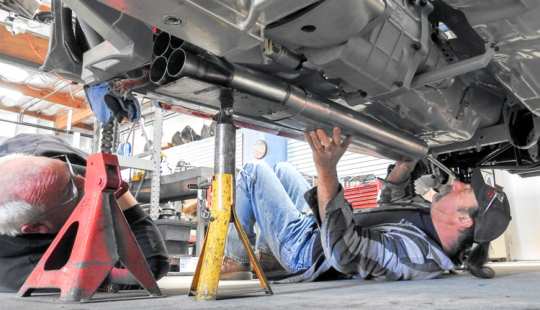
The exhaust system was fully installed with the oxygen sensors for the data-logging system, and an oxygen sensor for the Holley EFI connected. The whole system is tight to the bottom of the car, and the six-inch ovalized tubing allows for plenty of ground clearance under the car.
The headers (shown prior to coating) are 2 1/4-inch inch primary tubes going into 2 3/8-inch secondary tubes, which merge down to a 3 1/4-inch collector and then flare out to the six-inch oval flange to slip onto the exhaust pipes. Works of exhaust art!