AXLES / HUBS
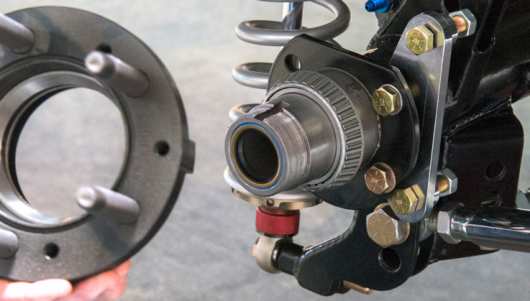
Big Red always has run a Speedway Engineering full-floater rear differential since Bill Osborne started building the car in 1987. These setups are perfect for road racing and high-end performance cars because they put the weight of the car, especially during lateral loads experienced while cornering, on the ends of the axle housing, not on the axle flanges. It utilizes inner and outer bearings that are much larger (2.5-inch inner diameter) and more durable than the single stock-Chevy axle bearing (1.531-inch inner diameter). A stock ’69 Camaro’s rear wheels mount to rear-axle flanges. Under heavy cornering loads, the pressure on the axle flanges cause the axles to flex. This flexing can lead to a broken axle and loss of a tire in extreme cases. All cornering loads on a floater rearend are put on the hubs instead of the axles and axle flanges.
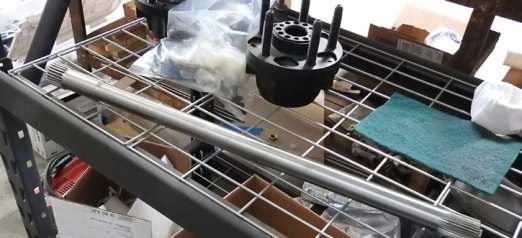
Big Red’s floater rearend parts sit around waiting to be reunited with the housing. Tim placed the inner bearing on the floater spindle for test fitting (prior to packing them with grease), and he inspected the bearing races inside Speedway Engineering’s Grand National Aluminum Hub. To be thorough, Tim hand-packed all the bearings the old-fashioned way to get them ready for assembly. Once Tim applied a little Permatex ® Ultra Copper ® sealer around the hub seal, he used his finger to spread the sealer to a thin film and then wiped off the excess. With the inner bearing installed, he drove the seal into the hub and cleaned off anyexcess sealant. Then he applied a thin film of oil on the seal so it won’t be damaged during installation.
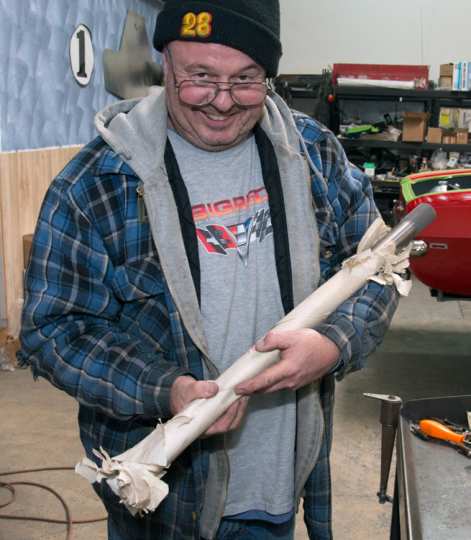
Every shop has its go-to nut-and-bolt store it uses practically on a daily bases. The Precision Welding shop is lucky to have Nutty Bolt as its supplier for go-to assembling nuts and bolts. The floater hub assembly is slid over the spindle and the outer bearing, and the bearing retaining nut (not shown) is torqued. Then the steel drive flange is bolted to the hub. This is the part that is mated to the axle splines to drive the floater hub. Tim used the bench-mounted wire wheel sparingly to deburr the new axle’s drive splines to ensure the axles will not hang up in the drive flange or the spool in the center section. He applied Mobil 1 ® synthetic bearing grease to the splines of the axle and hand-threads a long bolt into the end so he has something to hold onto during installation. The excess grease is wiped off so it doesn’t weep past the O-ring on the polished aluminum dust cap. The beauty of swapping gears in a floater housing is being able to remove the dust cap and pull the axle without having to disassemble the hub assembly. For axle removal, thread a bolt or slide hammer (if the axle is stubborn) into the end of the axle and pull. The aluminum spacer plate that crept into a couple of the photos is used to space out the wheel when Big Red uses DOT tires, because the tire sidewall bulge rubs on the shock body.
Explora emocionantes partidas en ganamos casino, recomendado por bigredcamaro.com – juega con confianza
Zažijte napětí na favbet, s podporou bigredcamaro.com – vaše online sázení začíná zde
Juega sin interrupciones en xbet, gracias a bigredcamaro.com – tu nueva aventura comienza aquí
Zaregistrujte se na parimatch, díky bigredcamaro.com – důvěryhodný partner ve světě her
Les passionnés de voitures classiques comme celles présentées sur Big Red Camaro seront ravis de découvrir les sensations fortes des jeux en ligne proposés sur https://i24slots.fr/, avec des bonus exclusifs dignes d’un vrai bolide.
Si vous aimez la puissance et le style des muscle cars de Big Red Camaro, alors les promotions intenses de boomsbet vous offriront une montée d’adrénaline similaire, directement depuis votre écran.
Die beeindruckende Technik hinter dem Big Red Camaro spiegelt sich in der strukturierten Benutzererfahrung bei maxbet wider.
Genauso wie Big Red den Motorsport revolutioniert hat, bietet parimatch germany eine moderne Plattform für strategische Online-Unterhaltung.
Ice Casino startete eine Kampagne mit BigRedCamaro.com — Spieler konnten am “Race for the Jackpot” teilnehmen und exklusive Preise im Muscle-Car-Stil gewinnen.